Shaping a midlength single-fin surfboard
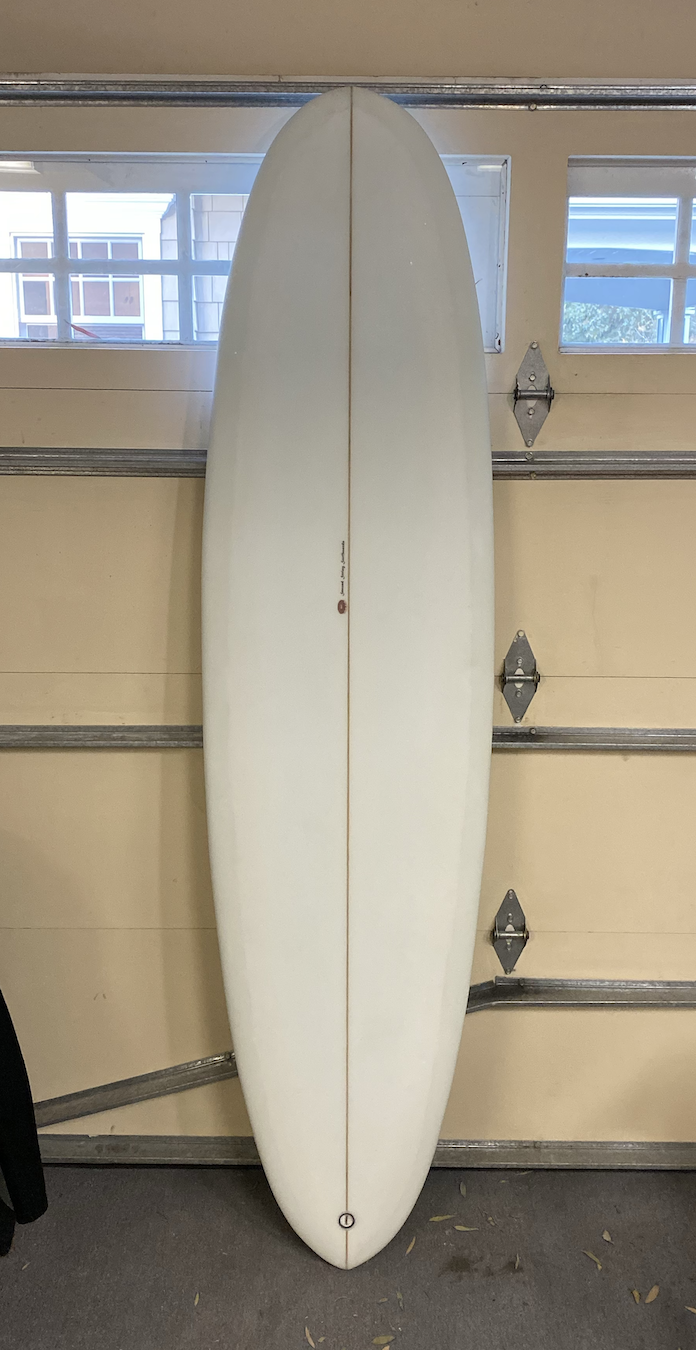
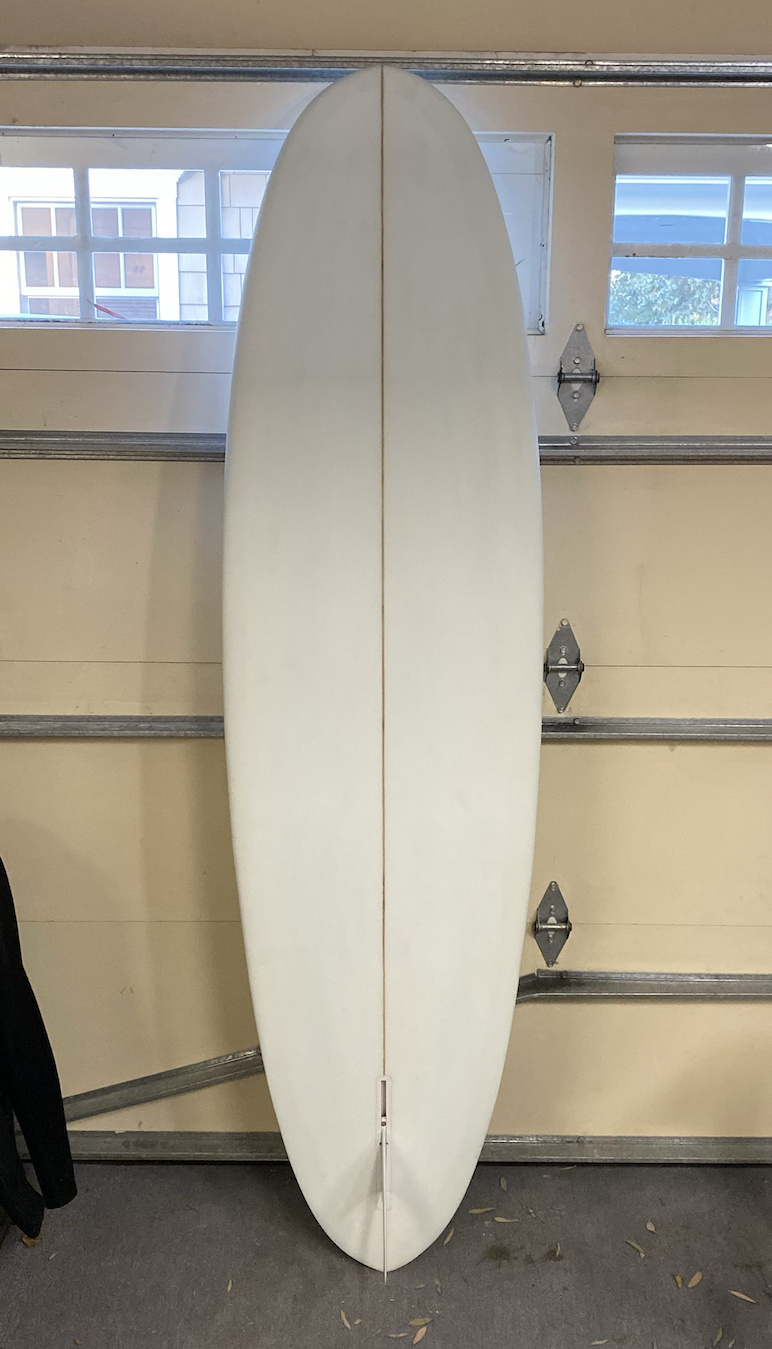
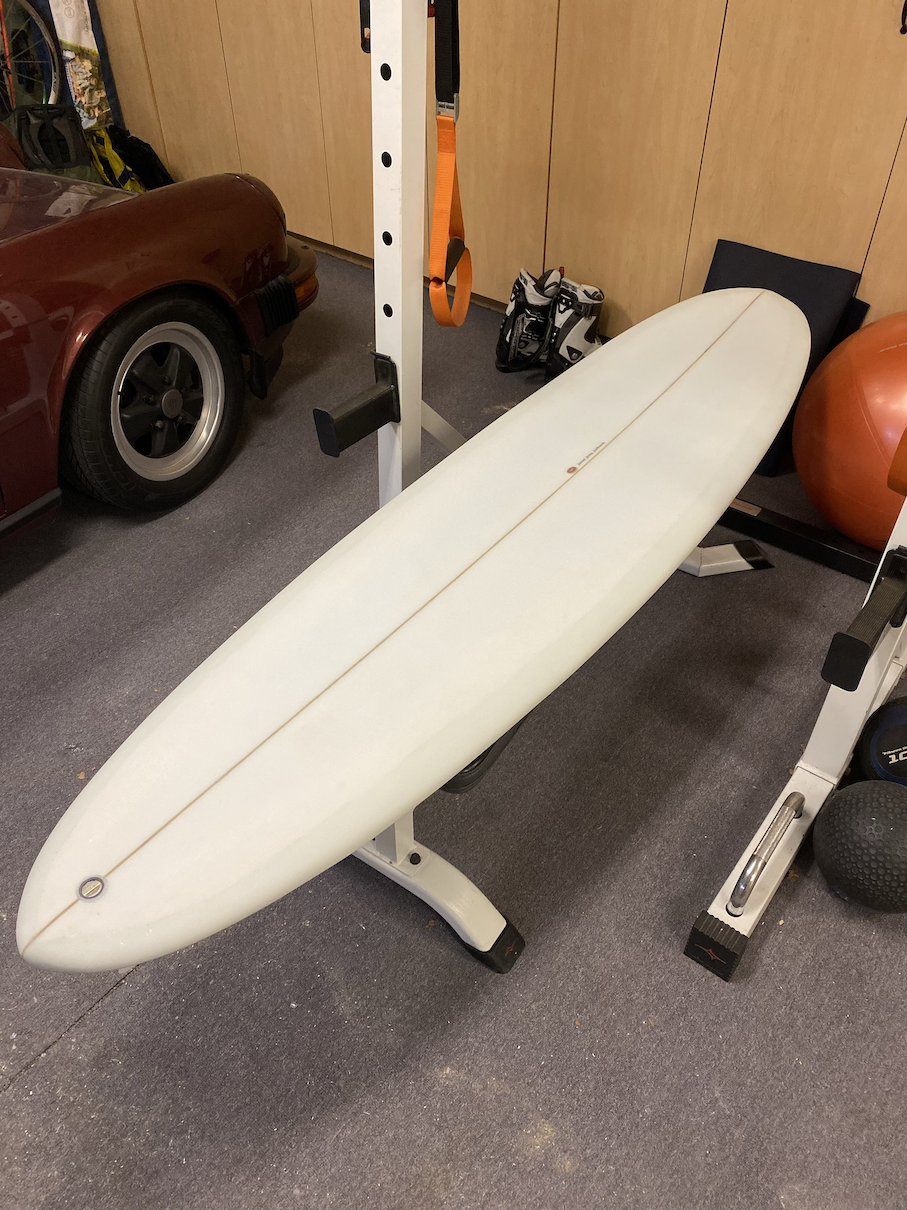
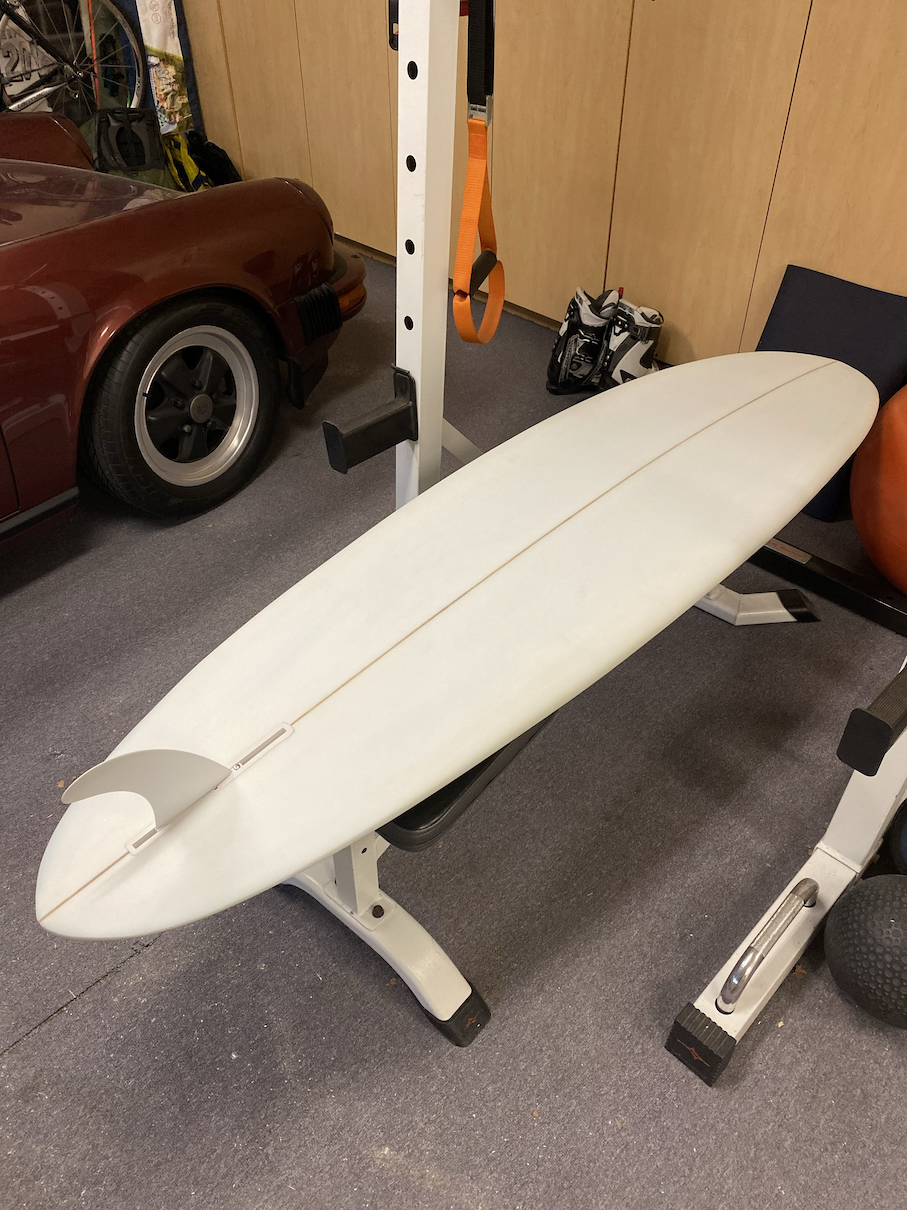
Single-fin egg midlength - 7'0" x 21 1/2" x 2 1/2"
Near the beginning of COVID, I toyed with the idea of shaping a board, but since I was up in SF I didn’t have any easy space or some of the tools necessary (not to mention I had no idea how to do it). Since I ended up spending a decent chunk of the second half of the year down in Newport, I decided to go for it while I had a garage and plenty of storage room. I also knew that I’d want to both shape and glass the board rather than just shaping it and sending it off to be glassed. Would my glass job be notably worse than a pros? Absolutely. I didn’t really care since I wanted to learn and have fun, and it didn’t come out half bad.
I had some initial help from a friend of a friend who pointed me to a decent list of YouTube videos for different steps of the shaping and glassing process, but by far the two best resources for new board builders are Greenlight’s guide (both for design and building) and the Swaylocks forum. The guide is instrumental for giving fairly easy to follow directions from the very start to the very end of the process, while you’ll quickly discover that almost any search about shaping or glassing will result in multiple hits of Swaylocks posts (many over 15 years old) asking the same question you are.
I decided on a midlength because I wanted something fun and cruisey that I could surf when it was a bit too small for a shortboard, but big enough that a Wavestorm wasn’t necessary. I wasn’t super strict about the dimensions, but I knew I wanted it to be a 7'0". I was aiming for around 2 1/4" to 2 1/2" in thickness, and I while I ended up at the high side of that scale, I’m still happy with it. Width was the parameter I worried the least about since I knew the thickness would be enough to give me some solid float. I ended up at 21 1/2" wide.
As for shape, I wanted a rounded pin for the tail, and I’m pretty happy with how it turned out. For the nose, I wish I would have either tapered it to a bit more of a point, or if I kept it rounded, moved some of the width up so the nose was fairly close to the middle board width. Overall, still stoked with the egg shape and it rides like a dream.
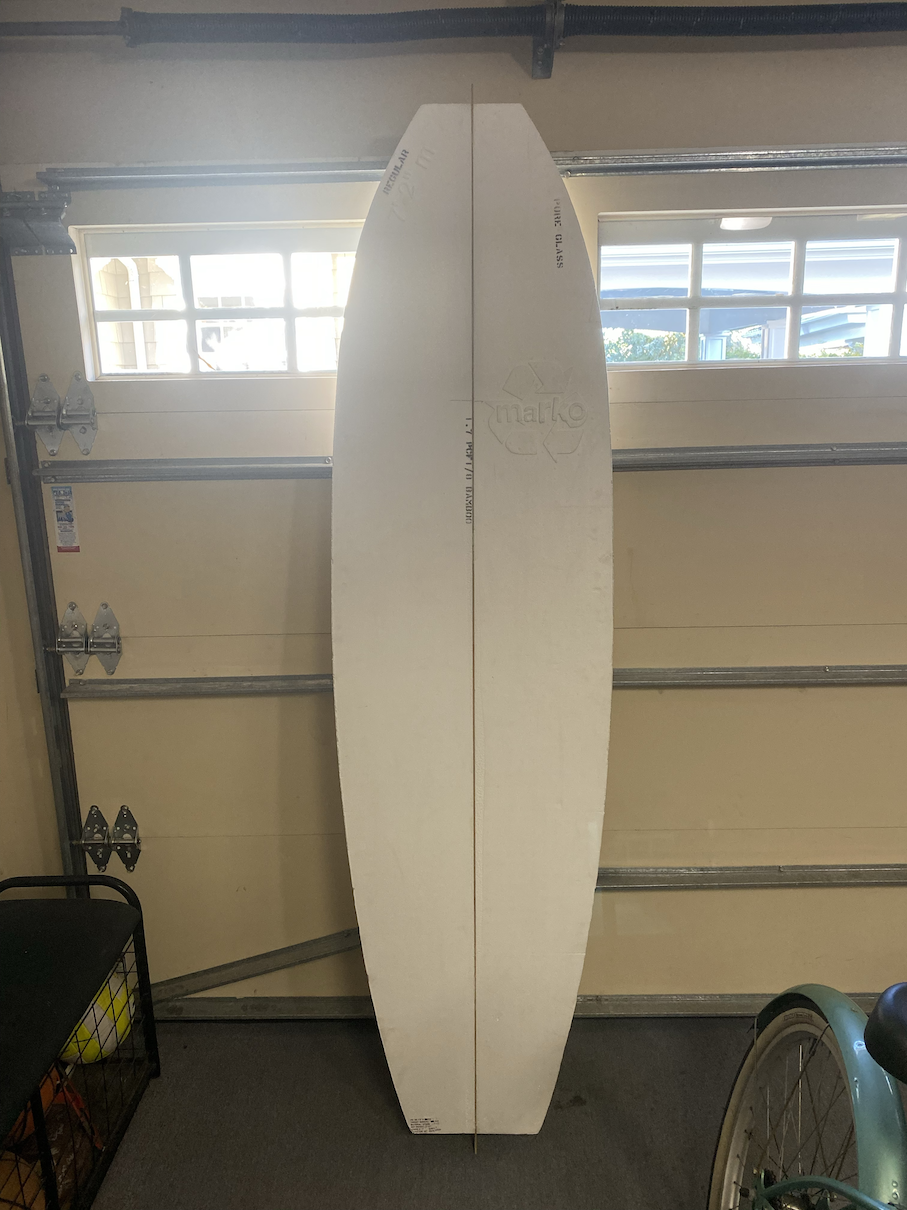
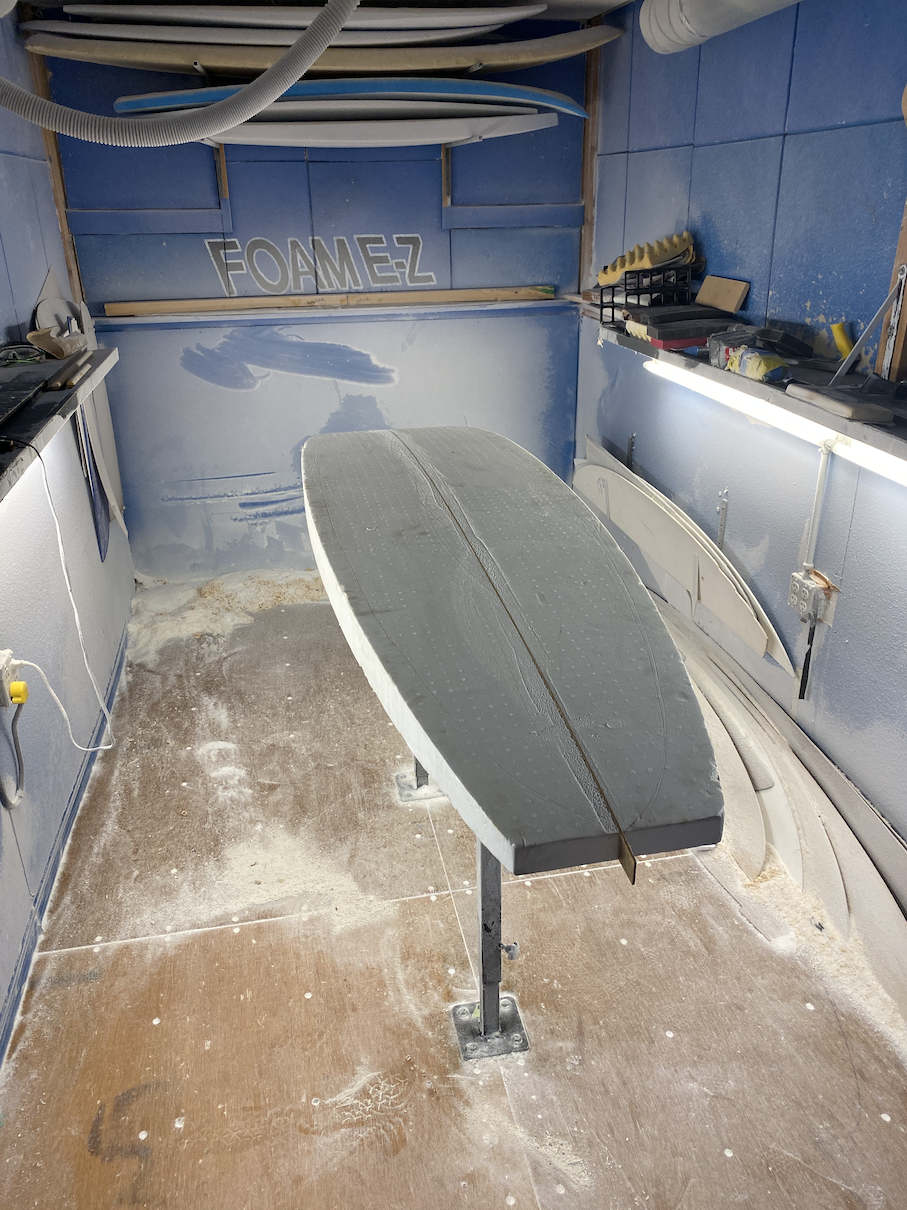
The 7'2" Marko blank in my garage and right before I started mowing foam
I rented space in the shaping box at a local shaping supply store. It was $10/hr or free if you bought your glassing stuff with them. The high-level steps for shaping are:- cut the outline out of the blank
- sand to the exact outline making sure it’s flat and a smooth curve
- foil the bottom by removing foam with the power planer while shaping in the bottom rocker
- shape concaves or vees into the bottom (I did a super simple single mid-board concave into a tail vee)
- foil the deck by removing foam with the power planer while shaping in the deck rocker
- flatten the bottom tuck railband
- flatten the topside railbands
- sand all of the railbands together
- screen the rail for a smooth curve
Turns out nowhere lets you rent their space for glassing, I’m assuming because it’s a much more time-intensive process and you have to let the board sit for long periods to cure. I glassed in my garage on top of homemade glassing stands and plastic sheeting taped to the floor. I could have done with some more side lighting instead of just top-down, but it was still 100x better than trying to find space in SF. My glassing process was:
- seal the top, bottom, and rails with spackle to help prevent too much resin soak and keep the board bright white
- prep bottom cutlaps with painters tape
- laminate the bottom with a single sheet of 4oz. fiberglass cloth and epoxy resin
- cut the laps (and screw it up with an ugly lapline)
- grind/sand the laps down (didn’t do it enough)
- prep the deck cutlaps with painters tape (better this time but still uneven around tail and nose)
- with cloth rolled back, laminate logo paper to foam, then roll cloth back over
- laminate the deck with two sheets of fiberglass cloth (6oz. below 4oz.) and epoxy resin
- cut the laps (much better this time)
- grind/sand the laps down (better but not great)
- prep for hotcoat and tape edges
- hotcoat deck
- flip board, prep for hotcoat and tape edges leaving 2mm tape dam for a hard tail edge
- hotcoat bottom
- realize lam coat was too skimpy on resin and there are pinholes everywhere in hotcoat
- sand full board @ 150 grit
- second hotcoat on deck and bottom (still pinholes but better than before)
Technically the board was watertight at this point. I still had to install the finbox (single-fins go in post hotcoat, other types into the foam pre lam coat) and the fin plug though.
- make jig for leash plug holesaw bit and finbox router path
- drill out finbox hole
- install finbox with small amount of resin + cabosil and tape securely
- flip and router out finbox hole (so stressful good lord)
- install finbox with resin + cabosil and strengthening wrap of extra fiberglass
- tape securely and let both cure
- using combo of Dremel and drill disc sander (there are much better tools for this) grind down leash plug until flush
- grind down finbox until flush
- sand the area @ 80 grit to remove some gouges
At this point, the board was “done” in the sense that I could chuck it in the water and surf it. To make it really look good though, it needed to be sanded. Most glassers use a power sander for this step. I did the first full-board sand by hand to get into all the little divots I could, then the remaining ones with the drill sanding disc. It still took forever (like three hours straight of sanding, my shoulders were so sore).
- hand sand the entire board with 150 grit
- disc sand the entire board with 220 grit
- disc sand the entire board with 300 grit
- disc sand the entire board with 400 grit
